A good timeline feels invisible on the day. It creates a steady pace, protects vendor setup, and gives you room for real moments. Build it in layers: anchors → transitions → buffers → vendor details → guest-facing highlights.
Start with the anchors of the day
Every wedding timeline has a few anchor moments: ceremony start, cocktail hour, dinner service, speeches, and the final send-off. Place those anchors first in the order guests will experience them. Once anchors are set, everything else becomes easier to place.
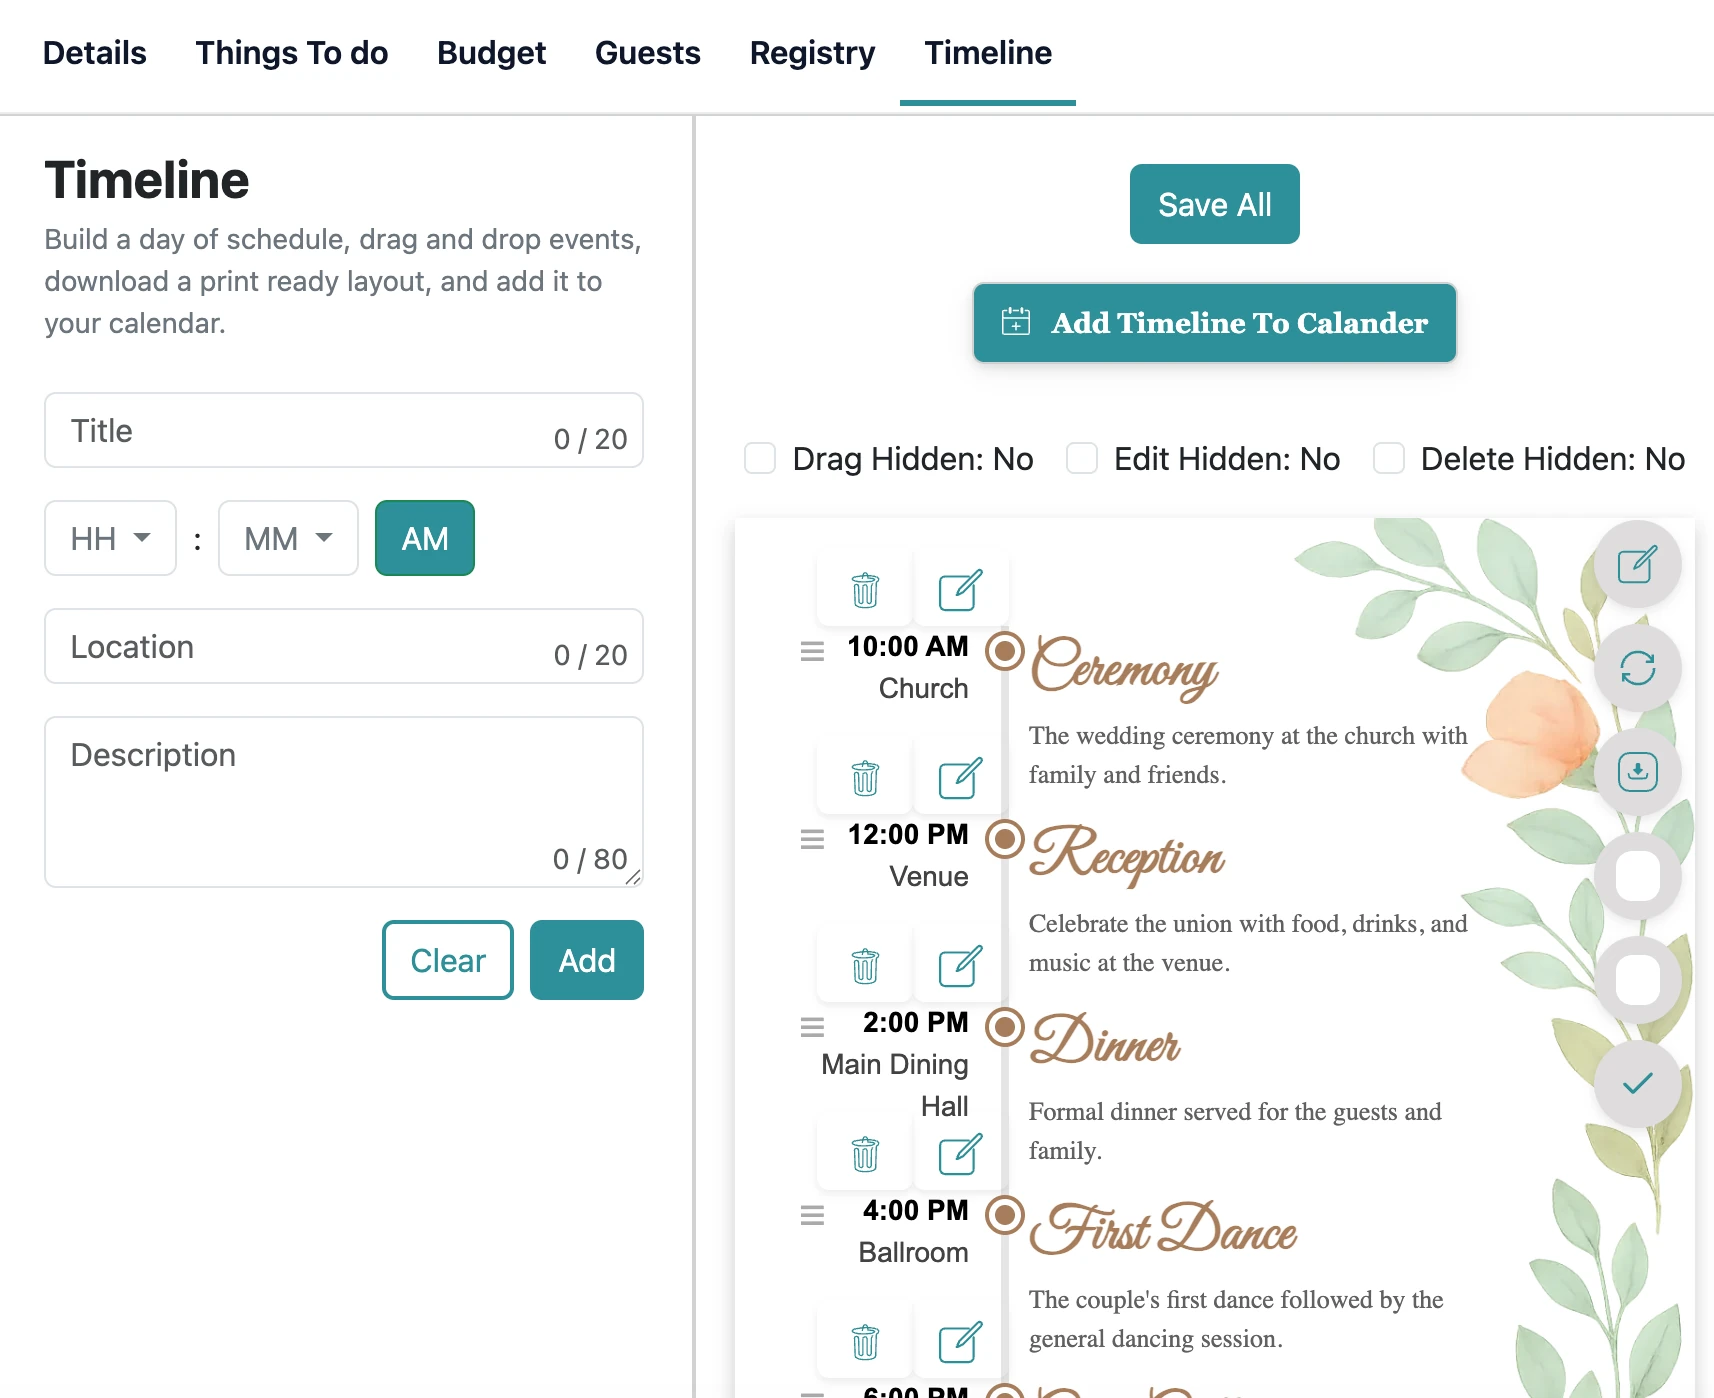
In the planner, add anchors as your main timeline items. Then add smaller items between them (photos, travel, vendor setup) so the big picture stays clear.
Practical step: write down the three “can’t move” times (ceremony start, dinner service, venue end). Everything else flexes around those.
Work backward from the ceremony start
The ceremony start time determines most of the early-day schedule. Work backward to place hair and makeup, getting ready, first look, and travel time. Add more travel time than you think you need, especially if you’re moving between locations.
If you’re taking photos before the ceremony, ask your photographer for realistic ranges for each photo block. A timeline that’s too tight creates stress for everyone.
Common mistake: stacking “perfect” times with no reality gap. If one thing runs late, everything after it becomes a scramble.
Build in buffer time on purpose
Buffer time is what makes a timeline feel calm. It covers late arrivals, small wardrobe fixes, traffic, and guest movement. Add short buffers between major transitions: after the ceremony, before the grand entrance, and before dinner service starts.
A simple rule: anytime people move locations, add a buffer. Anytime the plan switches modes (photos → guests, ceremony → cocktails), add another buffer.
Decision approach: if you only add buffer in one place, put it before the ceremony. Protecting the ceremony start protects the whole day.
Align your timeline with vendor needs
Vendors care about arrival times, load-in access, setup windows, and when services start. Confirm these with each vendor and record them in your planner. Your DJ may need time for sound checks. Your florist may need early access. Your venue may have strict load-in rules.
When your timeline includes vendor needs, you avoid conflicts like a room not being ready or a vendor waiting without access. It also helps your venue coordinate staff.
Guest-friendly check: if guests arrive while setup is still happening, they feel uncertain. Aim for “guests arrive to a ready space.”
Plan your reception flow in a guest-friendly way
Reception flow is about energy. Think about what guests experience: arriving, finding seats, enjoying food, and celebrating. Keep long gaps to a minimum. If you have several speeches, place them where they don’t stall the room (between courses, or after the first dance).
If you’re doing special moments (cake cutting, bouquet toss), schedule them when guests are already gathered. That keeps momentum without constant announcements.
Momentum tip: the best reception timelines alternate “watch” moments (toasts/dances) with “do” moments (eat/talk/dance).
Make a photo plan that respects the day
Family photos take longer than expected when the list isn’t organized. Create a short list and assign a “gatherer” who knows the families to help bring people in quickly. Keep the list focused on the combinations that matter most.
If you want golden hour photos, ask your photographer when the light will be best and add a short block. Even ten minutes can create standout images without pulling you away for long.
Practical step: print the family photo list and hand it to the gatherer + photographer. Don’t make them hunt for it.
Coordinate guest communication without stress
Guests don’t need every detail, but they do need clarity. Make sure ceremony time, reception start, and travel instructions are easy to find. Keep the details consistent across your invitation, website, and any day-of signage.
If you’re sharing the planner with helpers, give them the highlights plus key vendor contacts. That way questions go to the right person and you don’t become the day-of help desk.
Common mistake: over-sharing a complex schedule. Guests need the “what/where/when,” not the entire vendor run sheet.
Final review and a print-friendly version
In the final week, review the timeline with your venue and your core vendors. Confirm arrival times, contact numbers, and any special instructions. Then create a clean one-page version for day-of helpers that includes only the essentials.
A timeline is successful when it’s clear and current. It doesn’t need to be perfect to the minute. It needs to keep everyone moving together.
Decision approach: if something changes late, update one “master” version, then resend the highlights. Multiple conflicting copies create chaos.
Related wedding planning guides
Keep your plan connected. These guides work together (checklist → budget → timeline → guests).
FAQs
Real questions people search while planning. Use these answers to make decisions faster.
What is a typical wedding day timeline?
How long should a wedding ceremony be?
How long is cocktail hour?
When should we do photos on the wedding day?
What time should dinner be served?
How do I keep the reception from running late?
How do I share the timeline with vendors?
Should I build a separate planning timeline (months out)?
Next steps
Pick one action you can complete today. Small progress makes planning feel lighter.